Console guide
This guide shows, screen by screen, how to use the Zenifra console to create, configure, and monitor projects. If you prefer deploying from the terminal, see the CLI; if the terms used here are new to you, read the Platform concepts first.
Quick start
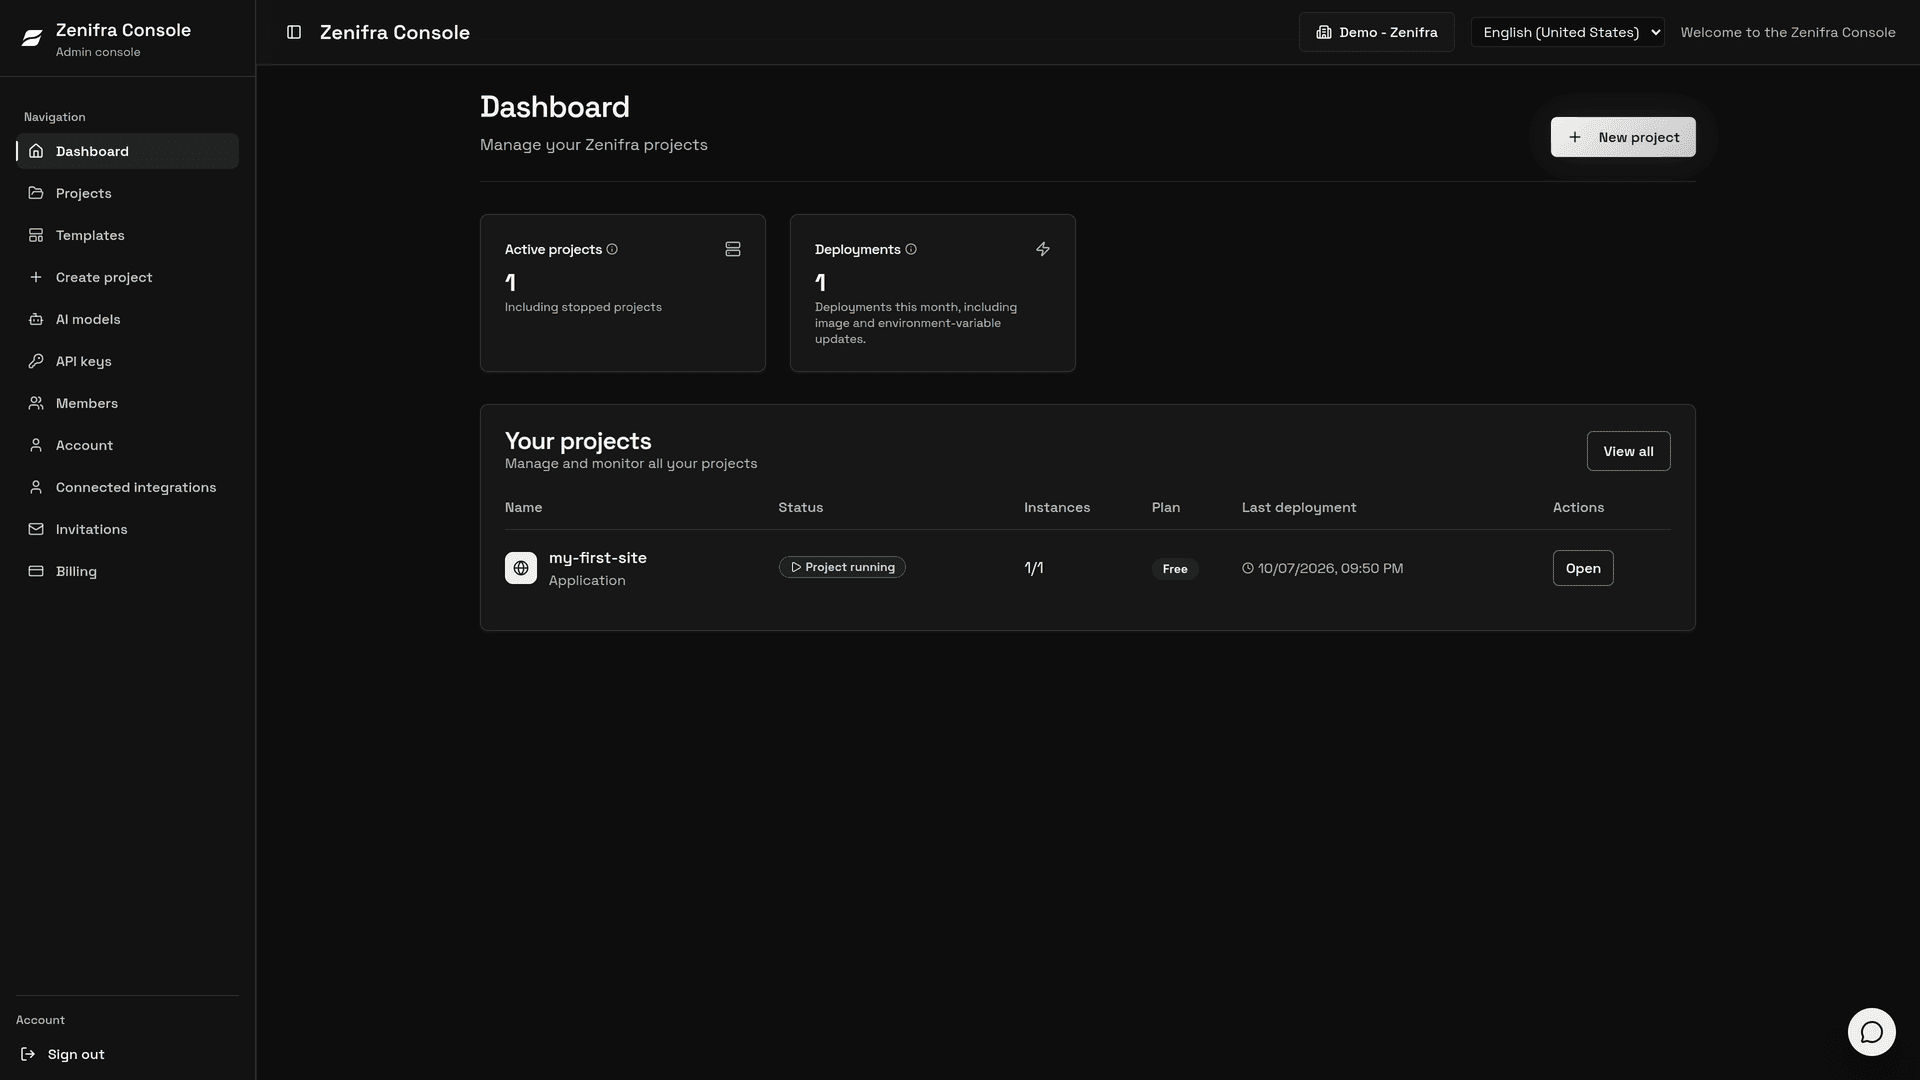
Video: creating an HTTP project from an OCI image, from the console to the live application.
The fastest way to begin is by creating an HTTP project:
- Open the console.
- Click New project on the Dashboard (or Create project in the side menu).
- Choose HTTP Application as the project type.
- Pick a plan, name the project, set the code source, and click Create Project.
See the full guide: How to create an HTTP project.
Guide topics
| Topic | What you will find |
|---|---|
| Account and access | Sign-up, email verification, login, 2FA, and password recovery |
| Websites and APIs (HTTP) | Create, edit, and monitor HTTP projects |
| Databases | Create, configure, and monitor PostgreSQL and MariaDB. Analytics (ClickHouse), Key-Value, Cache, and Queues have their own guides |
| Account settings | Profile, notifications, and GitHub connection |
| Payments | Credit, cards, outstanding amounts, and history |
After your first project
- Configure environment variables and persistent storage.
- Connect a custom domain.
- Invite your team to the organization.
- Review the production checklist.
Need help?
Check the FAQ, the Troubleshooting guide, or email [email protected].
Last updated on
Ready-made Dockerfiles for Go, Java, PHP, and .NET
Reference Dockerfiles to deploy Go, Spring Boot, Laravel, and ASP.NET Core on Zenifra as OCI images, with environment variables, a configurable port, build, and push.
HTTP Projects
Create and manage HTTP projects on Zenifra — websites, APIs, and web applications.